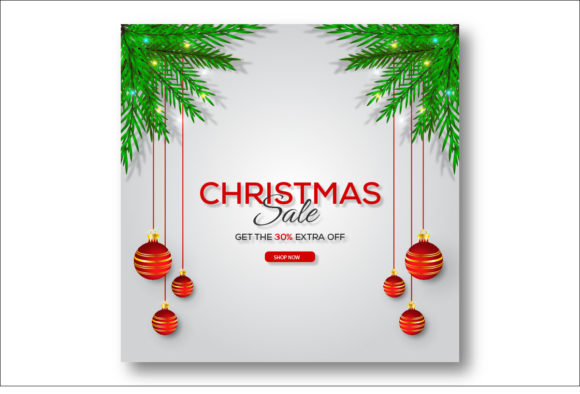
Christmas Ball Design: Creating Professional Holiday Graphics Without the Common Pitfalls
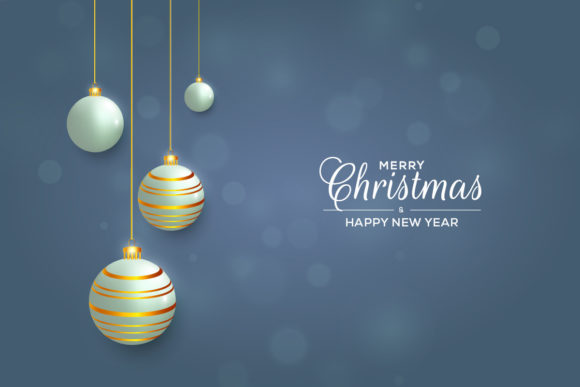
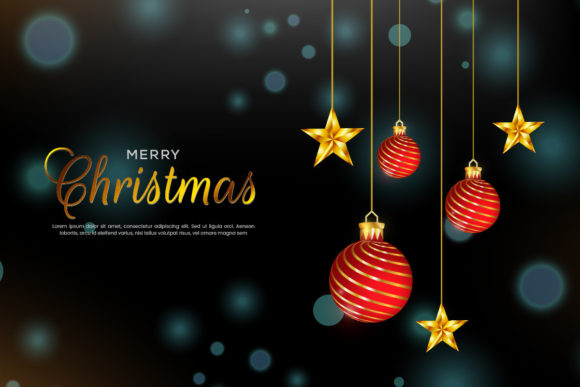
If you are looking to elevate your holiday marketing or personal projects, a high-quality Christmas ball design is often the missing piece in your creative puzzle. You might have seen stunning social media banners featuring realistic pine leaves, white balls, blue balls, and red balls set against a dark background, and wondered how to achieve that same professional look. The truth is, the difference between a generic clip art image and a standout design often comes down to file format, resolution, and the specific application of the elements.
Many creators rush into downloading free images only to find their designs pixelated when printed or impossible to cut with precision machines. This guide cuts through the confusion, offering practical advice on selecting and utilizing digital assets for everything from vinyl decals to iron-on transfers. By understanding the technical requirements upfront, you can save time, avoid costly reprints, and ensure your festive visuals communicate the right message.
The Importance of Vector Formats for Versatile Projects
One of the most frequent mistakes beginners make is assuming that all image files are created equal. When you search for Christmas decorations, you will encounter JPEGs, PNGs, and SVGs. While a raster image like a JPEG might look fine on a screen, it lacks the scalability required for physical production. If you attempt to enlarge a low-resolution image for a large banner or a custom t-shirt, the edges will become jagged and blurry.
This is why receiving your design in multiple formats—including Ai File, EPS file, PDF file, SVG file, and High-Resolution Vector—is crucial. A vector-based Christmas ball design allows you to scale an image from a tiny sticker to a massive storefront banner without losing any quality. Whether you are using Cricut Design Space or Adobe Illustrator, these formats ensure that the curves of the red balls and the texture of the pine leaves remain crisp at any size.
Understanding the Power of High Resolution
Another critical factor often overlooked is the resolution setting. For digital screens, 72 DPI might suffice, but for any printable decoration, cards, or invitations, you need a minimum of 300 Dpi. Using a low-resolution file for a printed invitation can result in a muddy, unprofessional appearance that undermines the effort you put into the layout. Always verify that your source material meets this standard before purchasing or downloading.
When working with a banner featuring leaves and decorative balls, the contrast between the elements matters. A design with a dark background provides depth, making the white and colored balls pop. However, if the file is not optimized for print, the dark areas may appear washed out or the colors may shift during the printing process. Ensuring you have the correct vector files helps maintain color integrity across different mediums.
Navigating File Management and Software Compatibility
Once you have secured your design assets, the next hurdle is often file management. Many users purchase a bundle only to be confused by the delivery method. These digital clip art files are typically compressed in one ZIP File to reduce download size and protect the integrity of the data. It is a common error to try to open a ZIP file directly as if it were an image.
To access your assets, you must extract them first. You can use tools like Win ZIP, WinRAR, or simply double-click the file on modern operating systems to extract them. Skipping this step means you cannot view or edit your files. Once extracted, you will see a variety of extensions. Each serves a specific purpose:
- SVG and AI Files: Ideal for cutting machines like Cricut or Silhouette. These allow you to isolate individual elements, such as a single red ball or a cluster of pine leaves, for precise cutting.
- EPS and PDF Files: Best for professional graphic design software. These formats preserve layers and editing capabilities, allowing you to adjust the composition of your Christmas banner before finalizing it.
- High-Resolution Vectors (300 Dpi): Essential for direct printing on materials like paper, fabric, or vinyl.
Failing to organize these files can lead to frustration. For instance, trying to load a complex layered PDF into a basic cutting machine software might cause errors. Conversely, using a simple SVG for a detailed print job might limit your ability to adjust colors or add text later. Knowing which file to use for which task is key to efficiency.
Practical Applications and Creative Choices
The versatility of a well-designed Christmas social media post with decorative elements extends far beyond just online sharing. These assets are designed to work in any design application, bridging the gap between digital marketing and physical crafts. Consider the range of possibilities available to you:
- Scrapbooking and Cards: Use the intricate details of the pine leaves and glossy balls to create unique holiday cards or scrapbook layouts. The high resolution ensures that every detail is visible even in small formats.
- Vinyl Decals and Stickers: With SVG files, you can easily cut these designs into vinyl for laptop stickers, car decals, or window ornaments. The clean lines of the vector graphics ensure smooth cuts without tearing.
- Clothes Printing and Iron-on Transfers: For entrepreneurs selling holiday apparel, these designs are perfect for heat press applications. The ability to resize the balls and leaves without distortion is vital for fitting different garment sizes.
- Engraving and Laser Cutting: Professionals can utilize the vector paths for engraving wood, acrylic, or metal, turning a flat design into a textured, three-dimensional keepsake.
Avoiding Color and Composition Errors
When assembling your own Christmas banner with leaves, white balls, blue balls, and red balls, pay attention to color balance. A common mistake is overcrowding the design with too many bright elements, which can make the image visually chaotic. The dark background is there to anchor the design; do not remove it unless you are creating a light-themed project specifically.
Furthermore, ensure that the "realistic" aspect of the pine leaves is preserved. Some lower-quality clip art makes leaves look cartoonish or flat. By using high-fidelity vector files, you retain the subtle shading and texture that gives the design its premium feel. This attention to detail separates amateur projects from professional-grade work that attracts customers and engages viewers.
Making the Right Decision Before You Start
Before diving into your project, take a moment to evaluate your needs. Are you creating a quick social media graphic or a long-term inventory of printables? If you plan to sell products, investing in a comprehensive bundle that includes all necessary formats is more cost-effective than buying individual images piecemeal. Check that the license allows for commercial use if you intend to sell items made with these designs.
Always test your design in the intended medium. Create a small mockup of your Christmas banner on a dark background and view it at full size. Check the alignment of the balls and the spacing of the leaves. This simple step can prevent costly mistakes in mass production. By prioritizing quality, understanding file types, and respecting the technical limitations of your chosen software, you can create festive designs that truly shine.
Whether you are a hobbyist crafting gifts or a business owner launching a holiday campaign, the right Christmas ball design sets the tone for your entire project. With the correct tools and a bit of knowledge about file handling, you can produce results that are both beautiful and functional.